
[ad_1]
iPhone and iPad users, learn how to save time and increase typing accuracy by using these iOS 16 voice recognition and dictation features.

Voice recognition and dictation have come a long way in recent years, and with iOS 16’s updated features, both can be powerful tools for improving productivity and accuracy when writing emails, replying to messages or typing out documents on your Mac, iPhone or iPad.
In this tutorial, I will teach you how to use iOS 16’s powerful voice recognition and dictation features to save time and increase accuracy in your daily tasks.
Jump to:
How to use Voice Control in iOS 16
Since iOS 13, Apple users have been able to control their iPhone or iPad entirely through voice controls. To enable the Voice Control feature on an iPhone or iPad running iOS 16 or later, follow these steps:
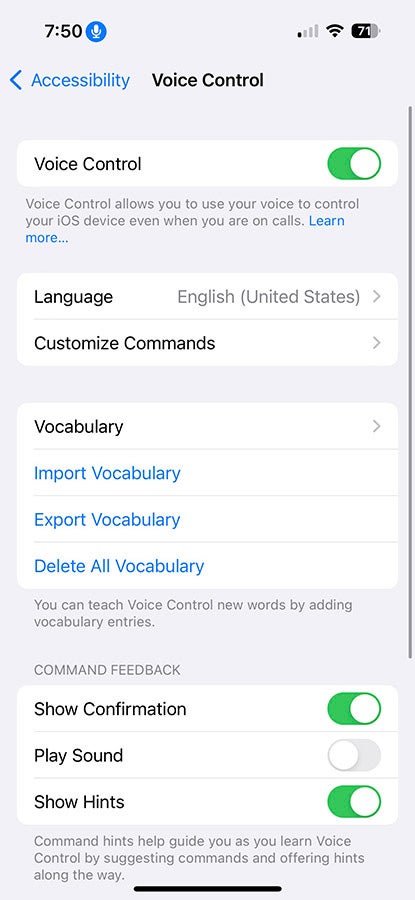
- Go to Settings and select Accessibility.
- Select Voice Control and then select Set Up Voice Control (Figure A).
- Set your preferred language and hit Continue when prompted.
- Press Done to complete the setup.
Figure A
A download will begin in the background. After the download is complete, a microphone icon will appear in the status bar of your device that indicates that Voice Control is active. Now you can interact by using your voice to do common tasks like swiping, tapping on things on the screen.
You can learn more about the Voice Control feature and the commands that are available in the Apple Support documentation.
How to set up and use Dictation in iOS 16 for accurate text input
Dictation is another powerful tool that can help you save time and improve accuracy in your day-to-day work. With dictation, you can input text with your voice instead of typing it out, which can be especially helpful for longer emails, documents or messages.
To use dictation, tap the microphone icon on your keyboard and start speaking. iOS will transcribe your speech into text, which you can then edit as needed.
How to enable and disable hands-free messaging with AirPods
If you have AirPods or other compatible Bluetooth headphones, you can take advantage of iOS 16’s hands-free texting feature. When a message arrives, Siri can read the contents to you automatically through your AirPods. You can then respond to the message with your voice without having to take out your iPhone or iPad.
To enable this feature, go to Settings | Siri & Search | Announce Messages and toggle on the option for your AirPods or headphones. From there, you can customize whether Siri announces messages always, only when you’re wearing your AirPods or when your device is locked.
If you no longer want Siri to announce messages through your AirPods or headphones, you can easily disable this feature. Go to Settings | Siri & Search | Announce Messages and toggle the option off. After doing so, Siri will no longer read messages aloud to you when they arrive.
[ad_2]
Source link